
Here’s a pictorial how-to I promised to students in my “Anarchist’s Tool Chest” class – might as well post it publicly…so y’all can tell me I should have built a router template.

Start with the lid. Set your marking/cutting gauge to the thickness of the hinge plate, and mark the baseline. Then align the hinge where it goes, allowing the second plate to drop flush with the back edge of the top (that aligns the barrel properly). Knife in the edges.

Use a chisel to chop a series of cuts in the waste that are just shy of the baseline, then knock out the waste.

A router plane, set to the baseline depth, makes quick work of producing a clean, flat-bottomed mortise.

Drop the hinge in place.

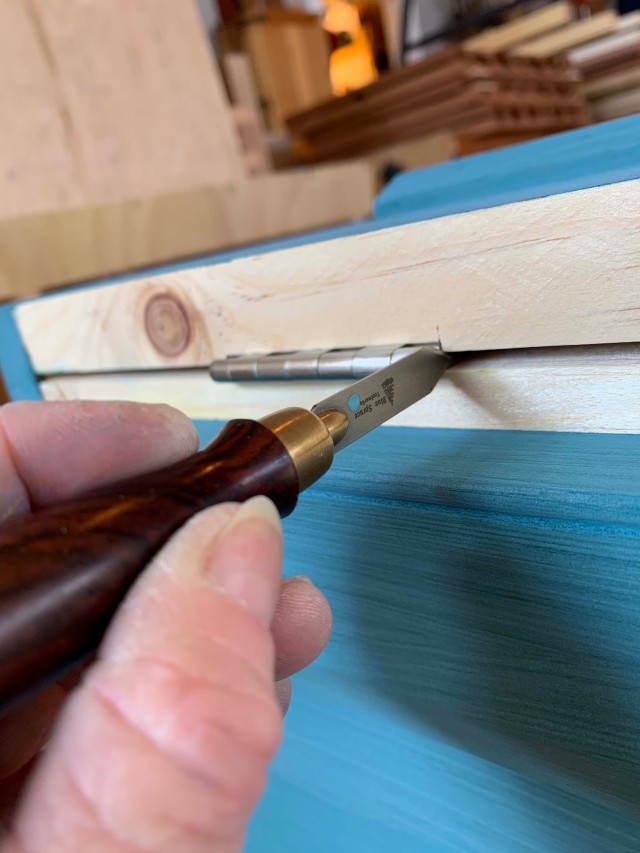
Use a centerpunch to mark the screw-hole locations. (I love this tool!) Then drill pilot holes for the screws.

Drive the screws (clocking them if you’re anal-retentive).
Set the lid in place (checking the side-to-side alignment for equal overhang), then sneak in with a marking knife to mark the edge position of each hinge. From there, repeat the steps above.

Prop the chest (and lid, if necessary) on sticks to align them so that it’s easy to flip the hinge plate in position to insert the screws. Plane the top edges of the case as necessary for a perfect fit.
I know there are many ways to cut hinge mortises. But that’s how I do it.

Your craftsmanship is excellent, your writing is clear and concise. Thank you!
Heh heh. You said butt.
hehehe. Butt.
👍(Brief and to the point)
Thanks for sharing this! It been awhile since I’ve installed a butt hinge, but I’ll keep this post around for the next time I do.
Thank you for this! It occurred to me that the router plane could be used in place of the marking gauge, saving a step.
It can indeed. But I always fumble a bit drawing it across for a clean baseline, so I prefer to use my cutting gauge.
In looking at the photos again – I see what you mean. You bought hinges where the leafs can lay flat against each other. Where did you buy those? Thanks again!
Horton Brasses – always great (both the hardware and the people).
Thank You! – do you have a part number for that hinge? Thanks!
PB-409
Router template? Hmmm… there’s a good sarcastic blog post in there somewhere. It’s starting to form…
Question: you made the thickness the hinge plate. Would it be wrong to make the depth up to the middle of the hinge barrel – so the lid could lay flat? Thanks for all your help and what you do for woodworking!
The hinge barrel overhangs (barely) the back of the lid (and the back of the carcase), so it does close flat.